Getting started
From zero to your first connected bank account. It takes about 5 minutes.
Step 1 — Open the app
In the UPX Portal, click Apps in the sidebar, then Launch on the UPX Financial MCP card.
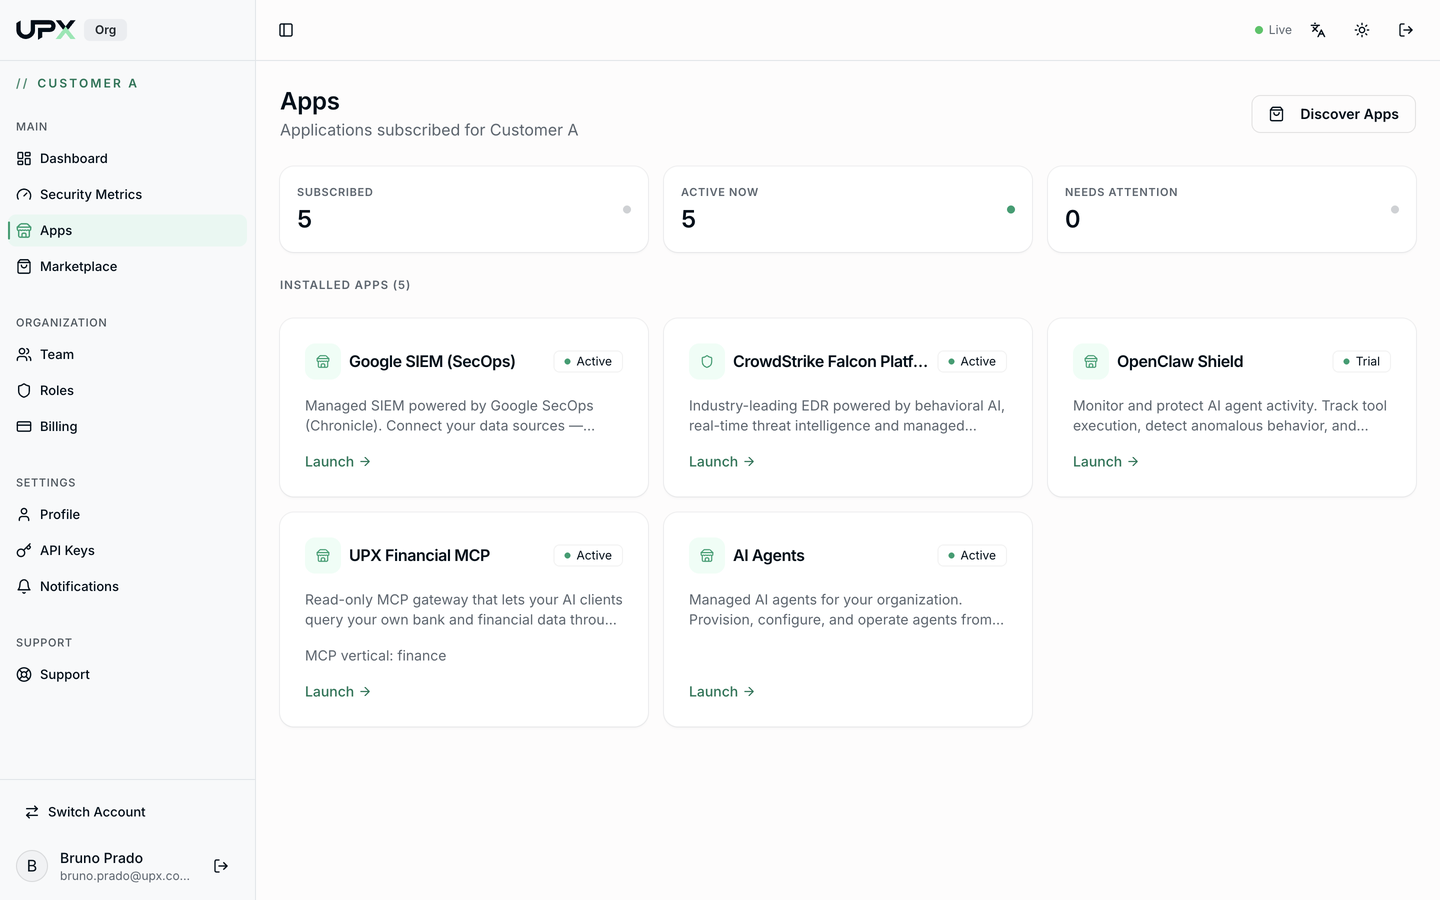
The first time, the app shows a welcome screen with the Connect your first bank button.
Step 2 — New Bank Connection
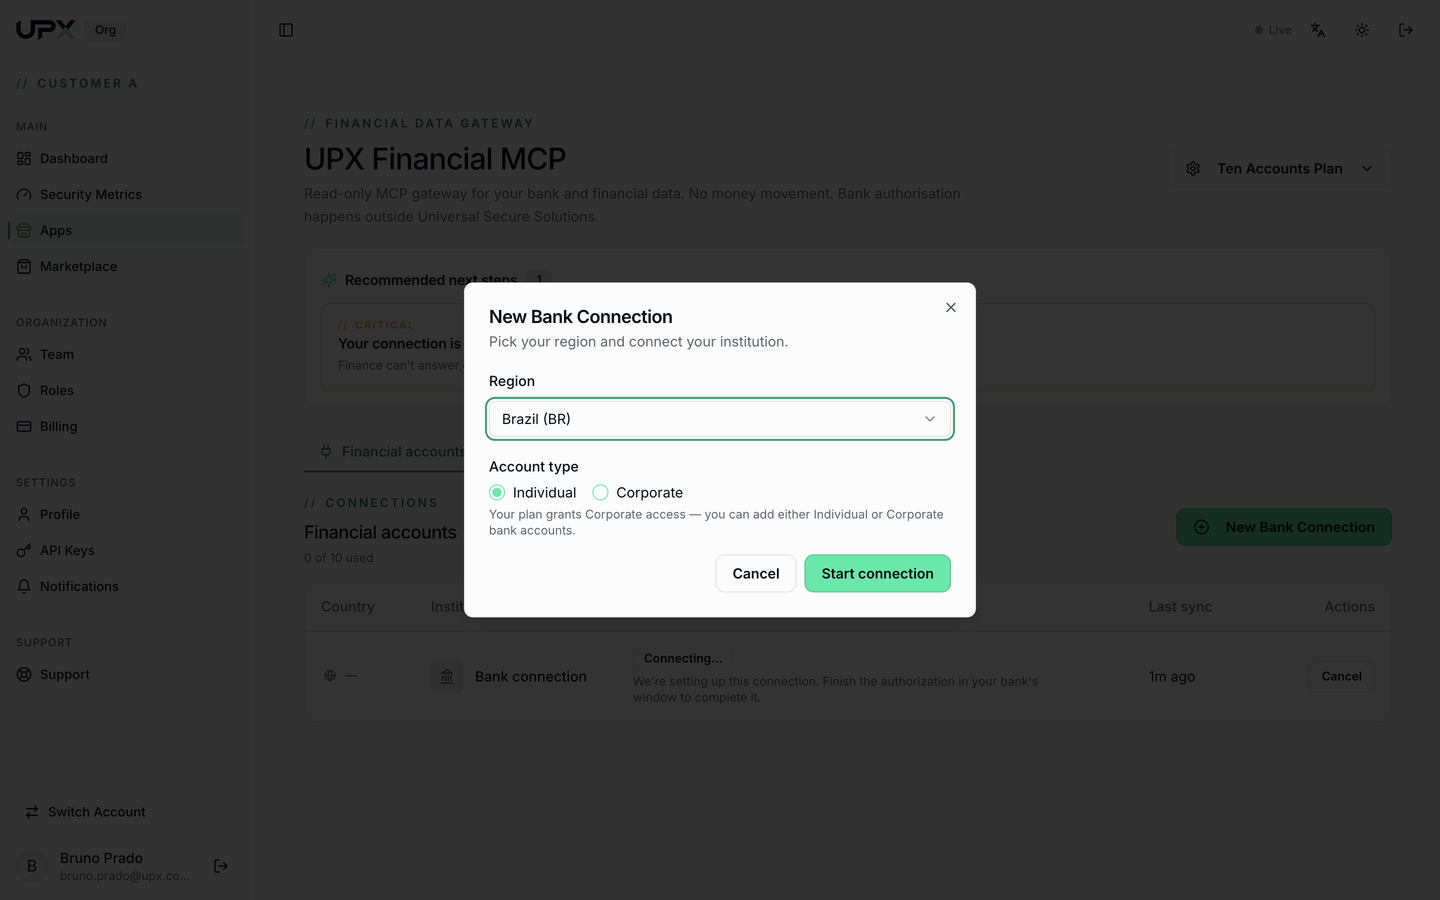
Click Connect your first bank (or New Bank Connection, if you already have connections). The New Bank Connection dialog opens.
Step 3 — Pick the region
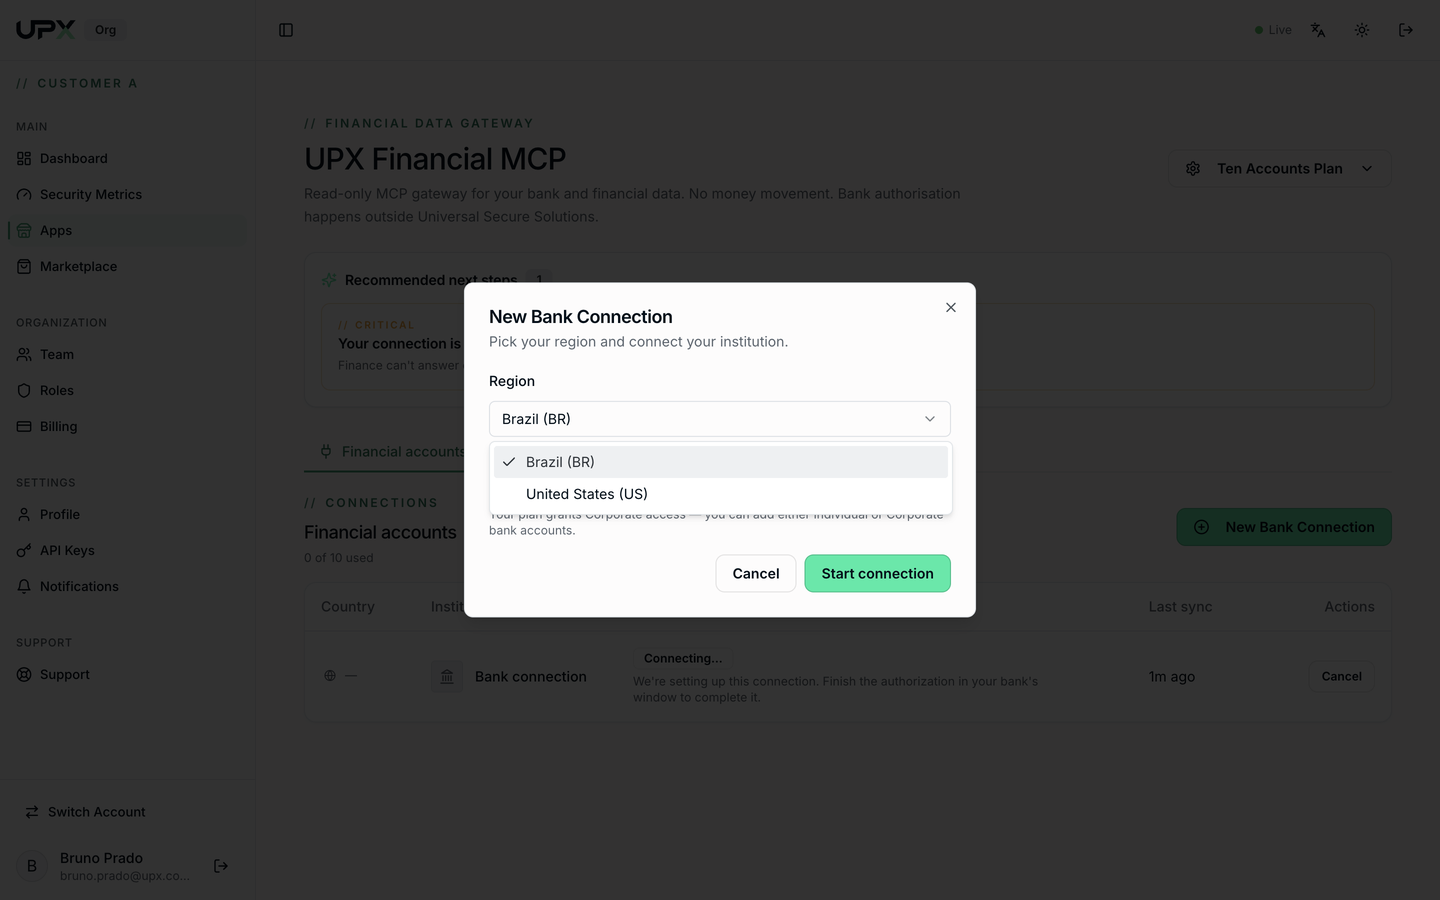
Under Region, select the bank's country:
- Brazil (BR) — Brazilian banks, via Pluggy
- United States (US) — US banks, via Plaid
Step 4 — Pick the account type
Under Account type, choose Individual or Corporate.
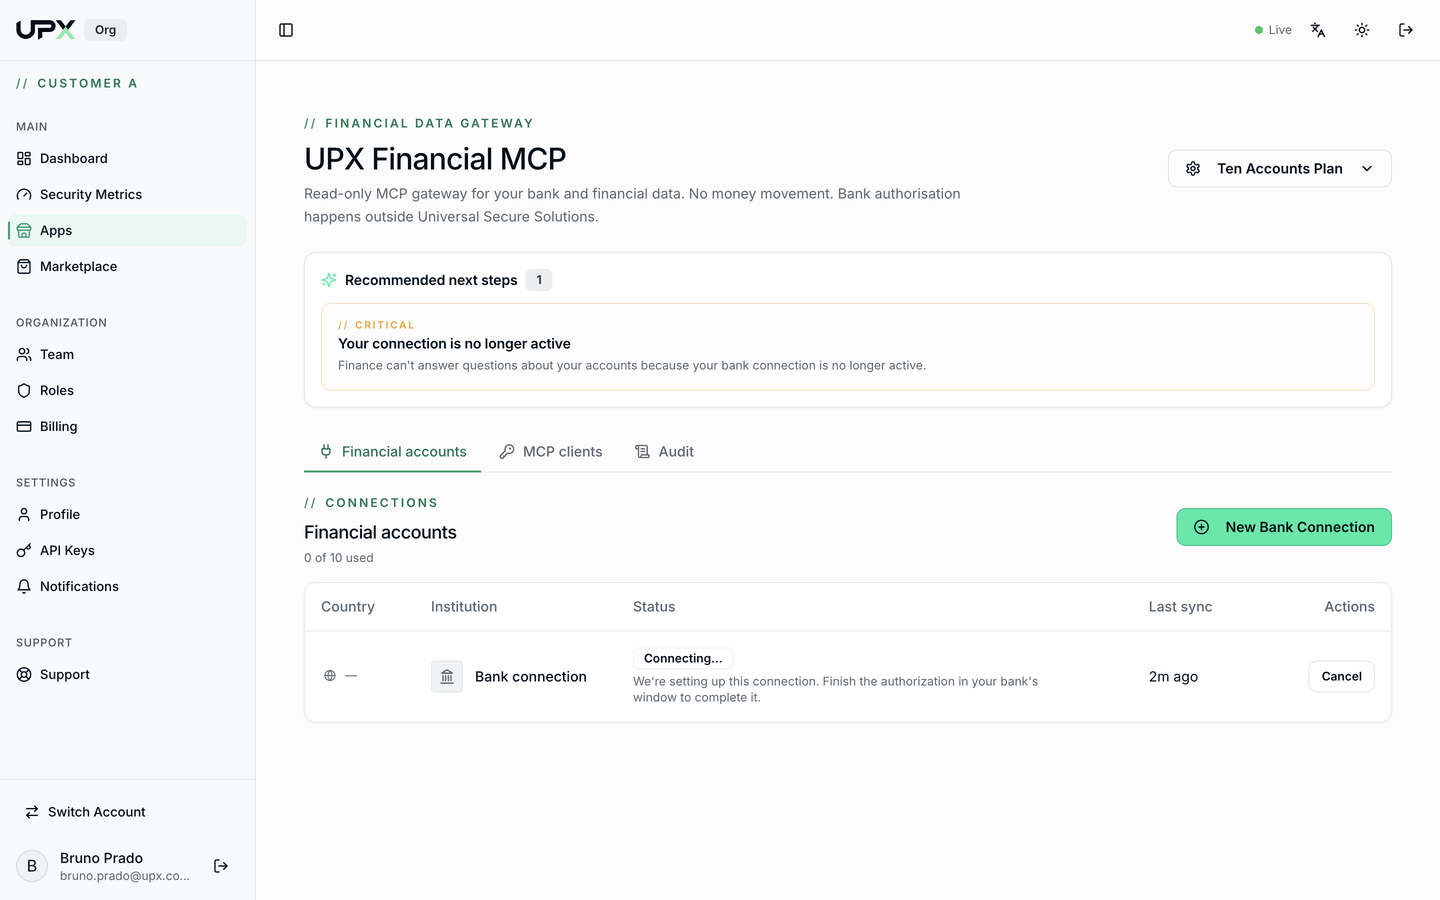
Corporate plans accept both types. Individual plans only allow Individual — the dialog itself tells you what your plan permits.
Step 5 — Start connection
Click Start connection. The aggregator's window (Pluggy or Plaid) opens on top of the portal.
- Accept the aggregator's terms and click Continue.
- Search for and select your bank.
- Sign in on your bank's website or app — the aggregator redirects you there.
- Authorize view-only access.
The login happens inside your bank's environment. UPX only receives an encrypted, read-only access token.
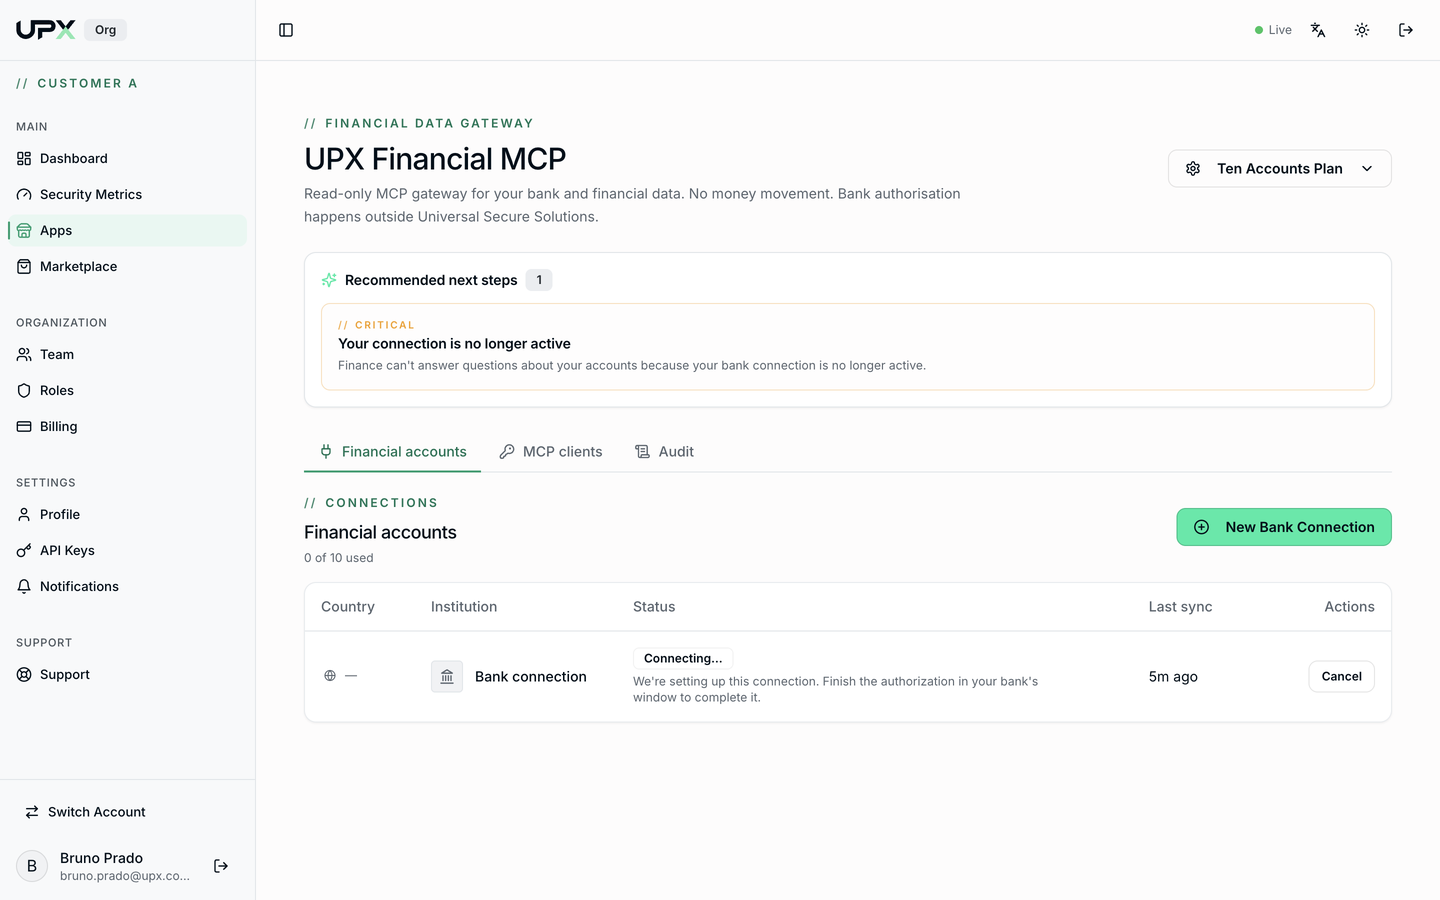
Until the authorization finishes, the connection shows in the list as Connecting…. If you change your mind, click Cancel on the connection's row.
Step 6 — Confirm
When the authorization completes, the bank's window closes and the connection appears in the Financial accounts tab with the institution's name, an Active status, and the time of the last sync.
Next step
Now authorize an AI assistant under MCP clients.